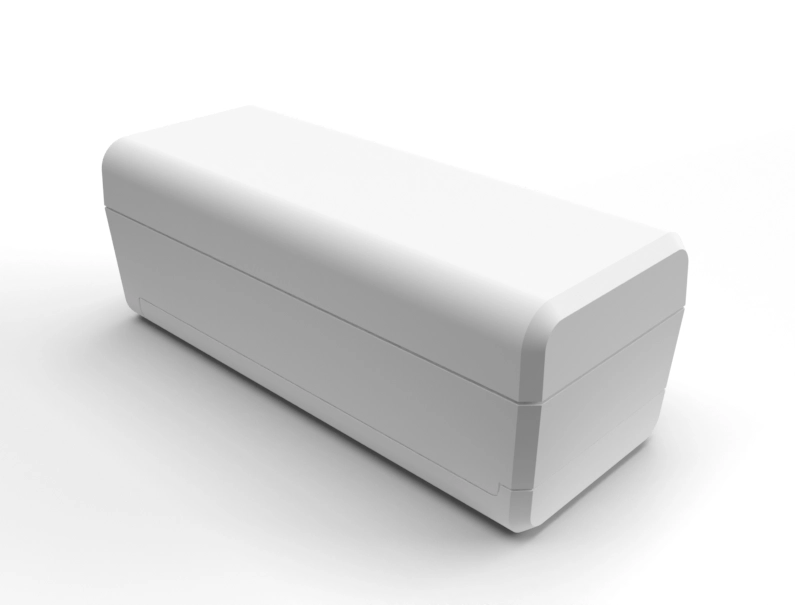
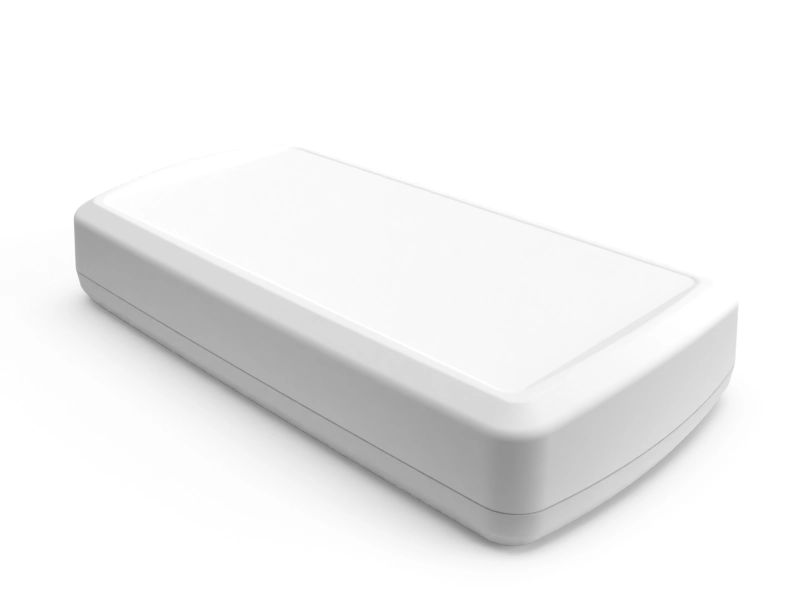
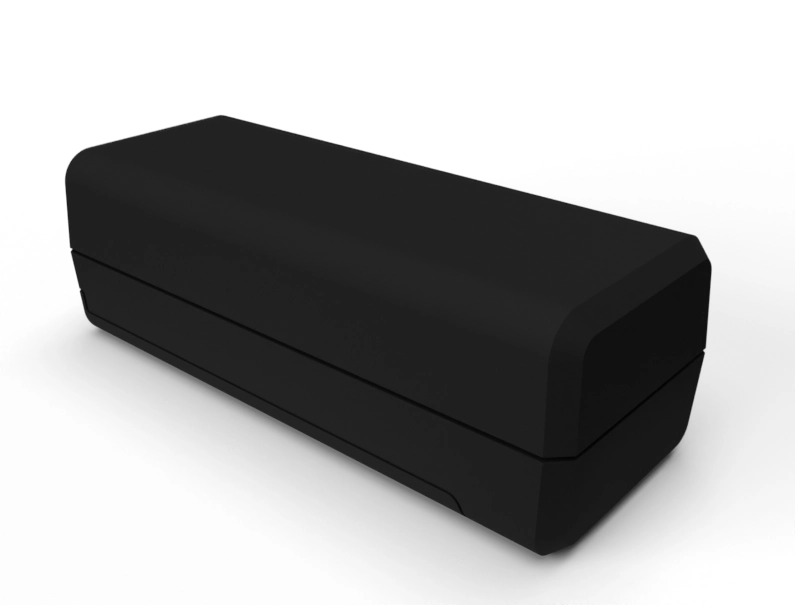
How to Choose the Right Plastic Enclosure (7 Steps) + Customize Online

TL;DR: Pick your environment, pick your material, size it to your PCB + I/O, then use our online Customizing Tool to add cutouts, logos, and text—and get an instant, saveable quote.
1) Define the operating environment
Start with where your device lives: desk, vehicle cabin, factory floor, or outdoors. Temperature swings, vibration, UV exposure, splash/dust, and cleaning chemicals all influence enclosure choice and gasketing. Indoor prototypes tolerate simpler specs; industrial/outdoor devices often need venting, strain relief, and robust mounts.
2) Choose a material that matches the job
-
ABS: Versatile, easy to machine, great for handhelds and general electronics.
-
Polycarbonate (PC): Higher impact resistance; good where durability matters.
-
ASA/UV-stable options: Better weatherability for outdoor use.
If you’re unsure, start with ABS for prototyping, then step up to PC or UV-stable blends for fielded units.
3) Size for your PCB—and your connectors
Map board outline, tallest components, standoffs, and cable bend radii. Leave margin for fasteners and labeling. If you’ll rotate a USB-C or RJ45 to an edge, confirm connector depth and boot clearance now to avoid late rework.
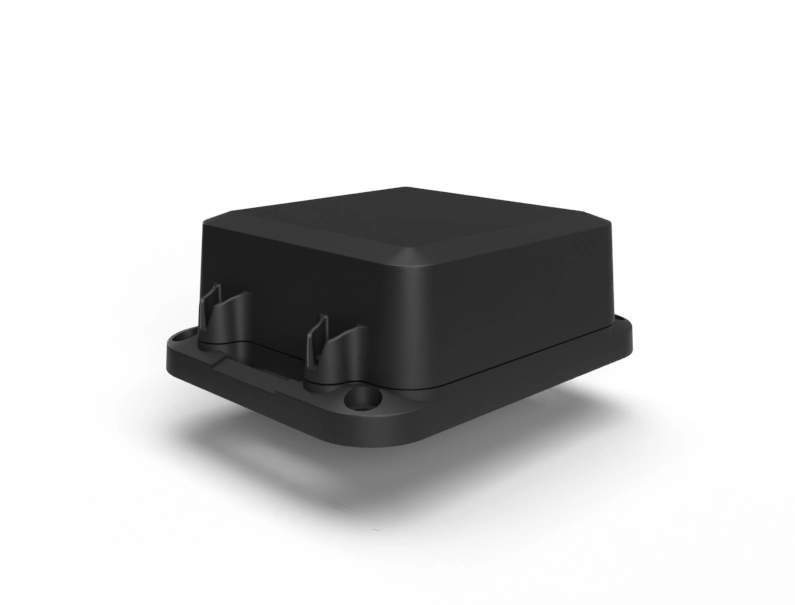
4) Plan the I/O (cutouts, vents, and mounting)
List every hole you need: power, data, LEDs, buttons, antenna pass-throughs, vents, and wall/pole/rail mounting. Group related ports on one face to simplify harnessing and reduce assembly time. If heat is a concern, plan vent patterns or internal heat spreaders.
5) Think branding early (logos, graphics, and text)
A clean label area, embossed/debossed logos, or printed graphics can turn a “box” into a product. Decide placements and sizes now so your team won’t revisit mechanicals just to fit a mark or serial.
6) Sanity-check compliance cues
-
Flammability: Know your target (e.g., UL 94 HB/V-2/V-0) and choose material/geometry accordingly.
-
Ingress: If you expect splash/dust, plan for gaskets and fastener patterns that maintain compression.
-
RoHS/REACH: Ensure material declarations are on file before procurement.
7) Prototype fast—then lock it in
Don’t over-engineer the first pass. Get a test enclosure in hand, validate connector fit, cable strain relief, and thermal behavior, then finalize your model notes (cutouts, graphics, text) for production.
Customize your enclosure online in 60 seconds
-
Find your enclosure and click Customize this enclosure.
-
Add cutouts: pick a shape, click a surface, fine-tune with X/Y/size fields.
-
Add logos/graphics/text: scale, rotate, and position; specify colors for accurate quoting.
-
Save or email your quote. Logged-in users can save models to the dashboard for later.
Start here: Customizing Tool → https://newageenclosures.com/tool.html New Age Enclosures
Example starter checklist (copy this into your ticket)
-
Enclosure family/part #: ______
-
Material target (ABS / PC / ASA): ______
-
Board size (L×W×H) + tallest component: ______
-
Ports & indicators (type/qty/face): ______
-
Mounting (desk/wall/pole/rail): ______
-
Branding (logo/graphics/text specs): ______
-
Thermal/venting notes: ______
-
Compliance notes (UL/ingress/labels): ______
-
Finish & color: ______
-
Quantity & timeline: ______